Quick Start
Locating the Crestron Panel
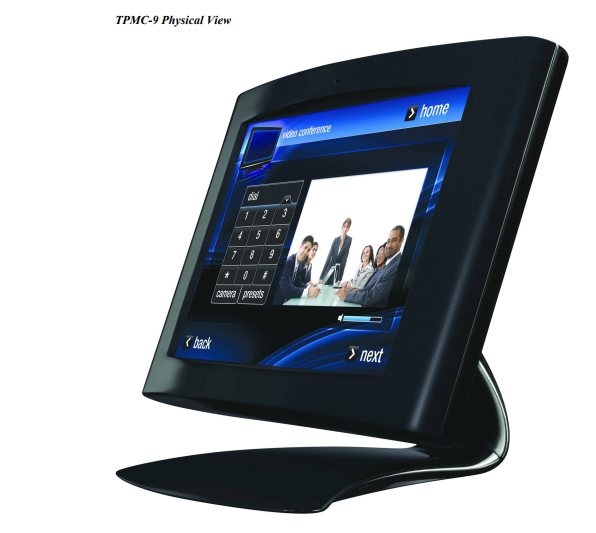
The Crestron touch panel is typically located on the instructor desk, a similar unit is pictured below:
Power On
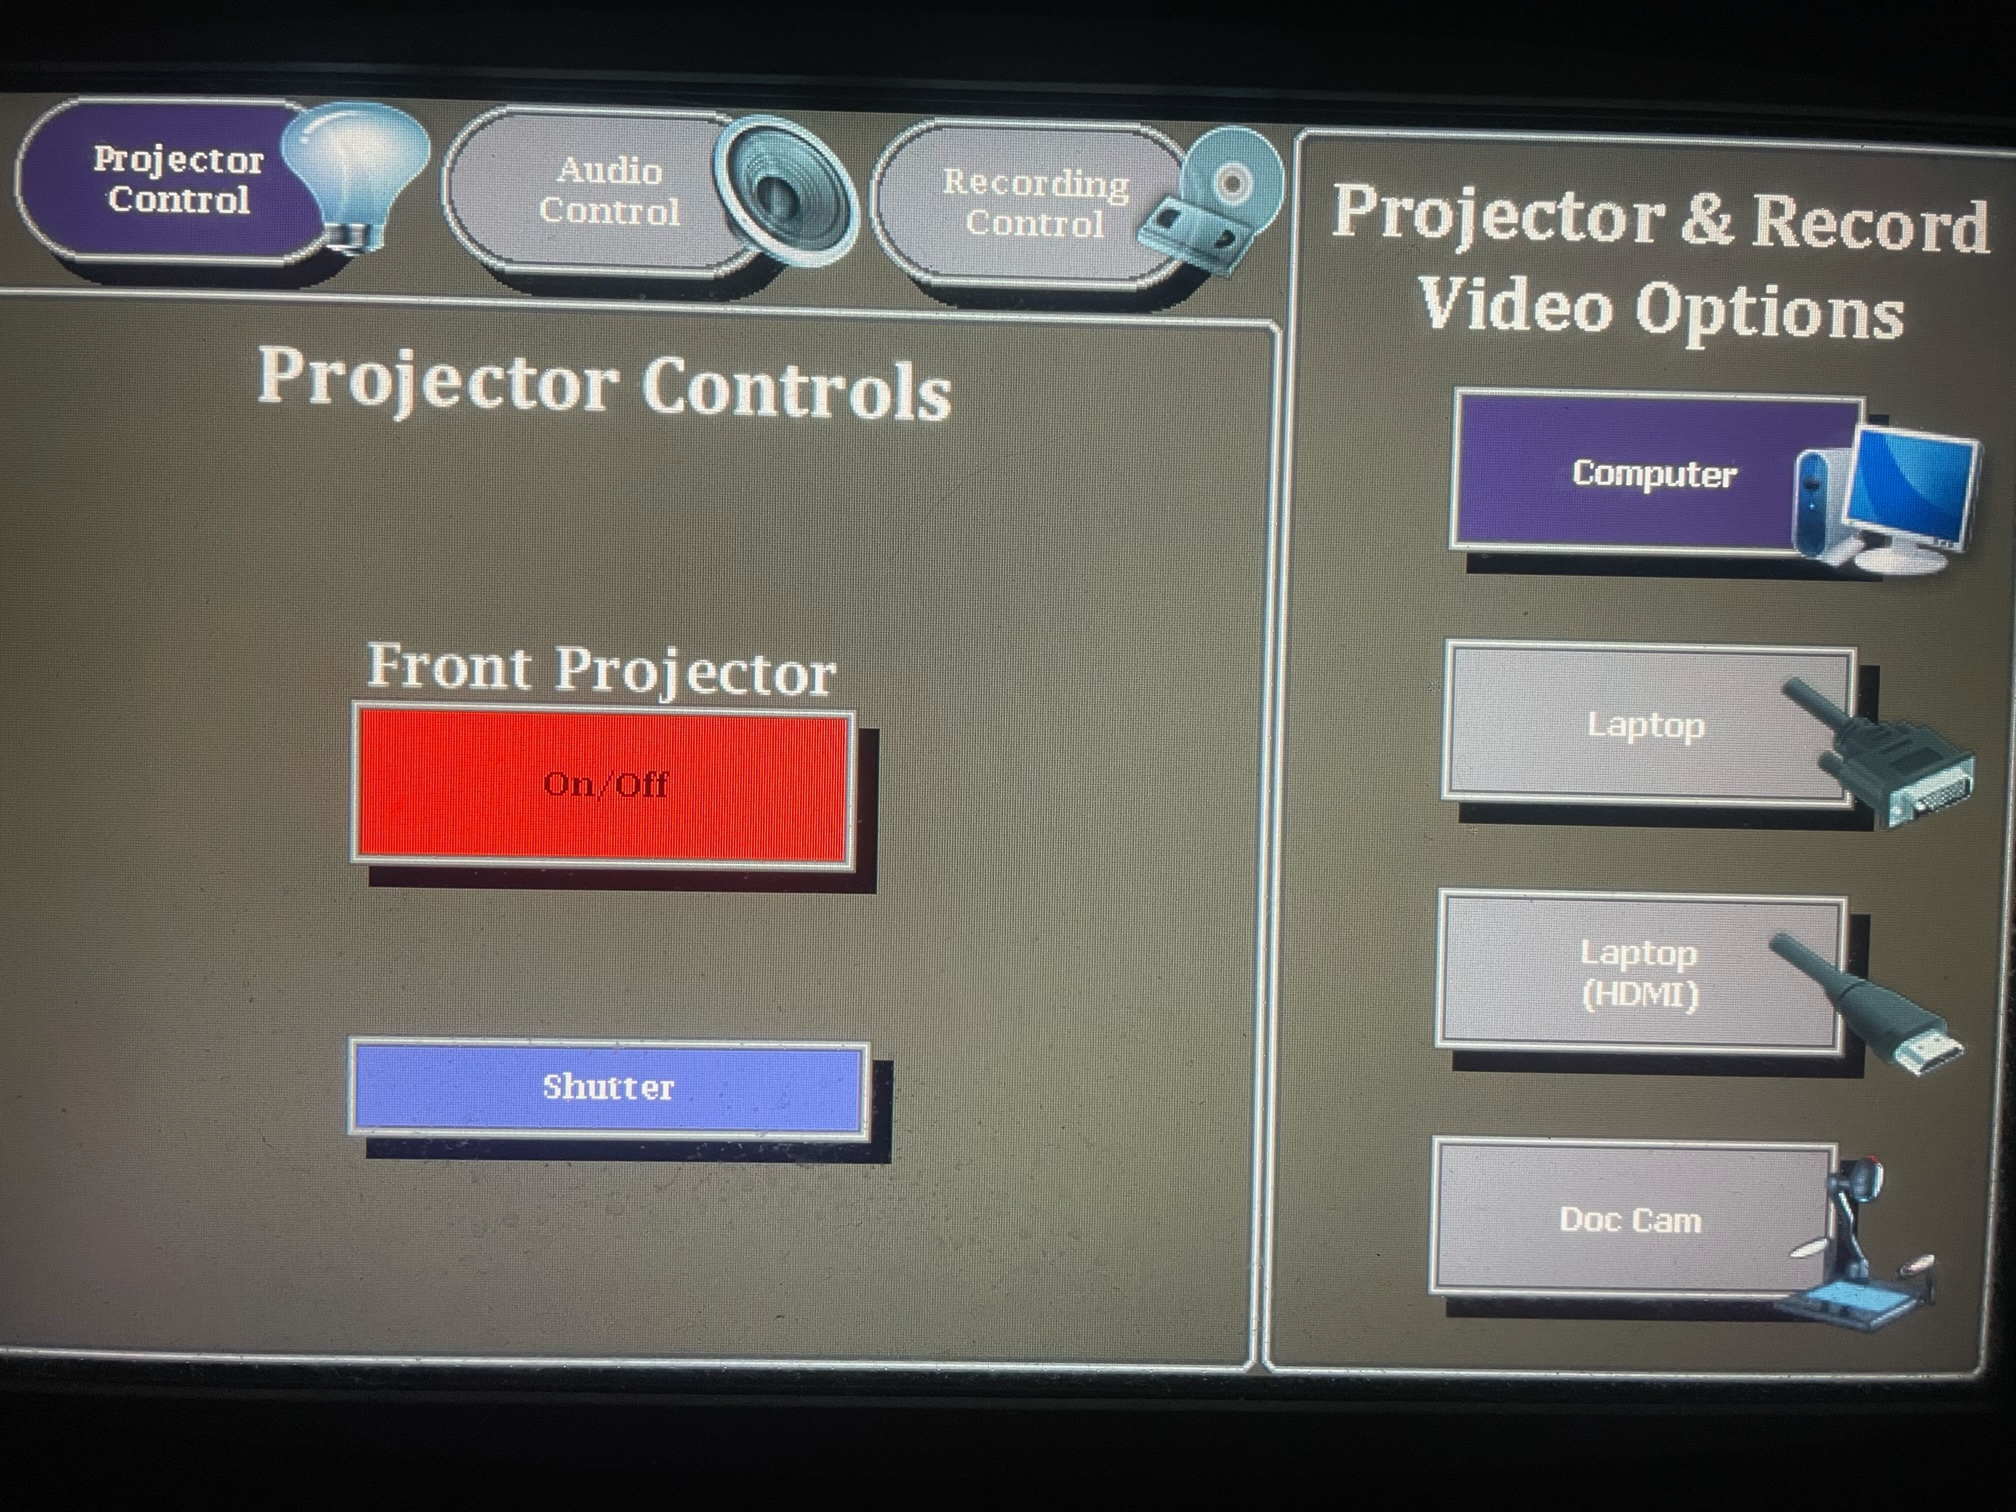
To power on the projector, use the On/Off function located in the "Projector Control" menu:
Video Input Selection
To use your device of choice you can select from a variety of video input options under the "Projector Controls" menu:
- Computer (DVI) - Dell Optiplex located on the Instructor desk.
- Laptop (HDMI) - Connect a supported device to the HDMI cable on the instructor desk.
- Laptop (USB-C) - Connect a supported device to the USB-C cable on the instructor desk.
- Doc Cam - The doc cam input allows users to use the physical document camera.
- Audio Controls
- Audio Inputs - MH 101
- Audio Inputs - MH 304
- Recording Controls - Coming Soon
- Zoom Controls - MH 101
- Zoom Controls - MH 304
- FAQ
- Display Settings
Audio Controls
Room Volume
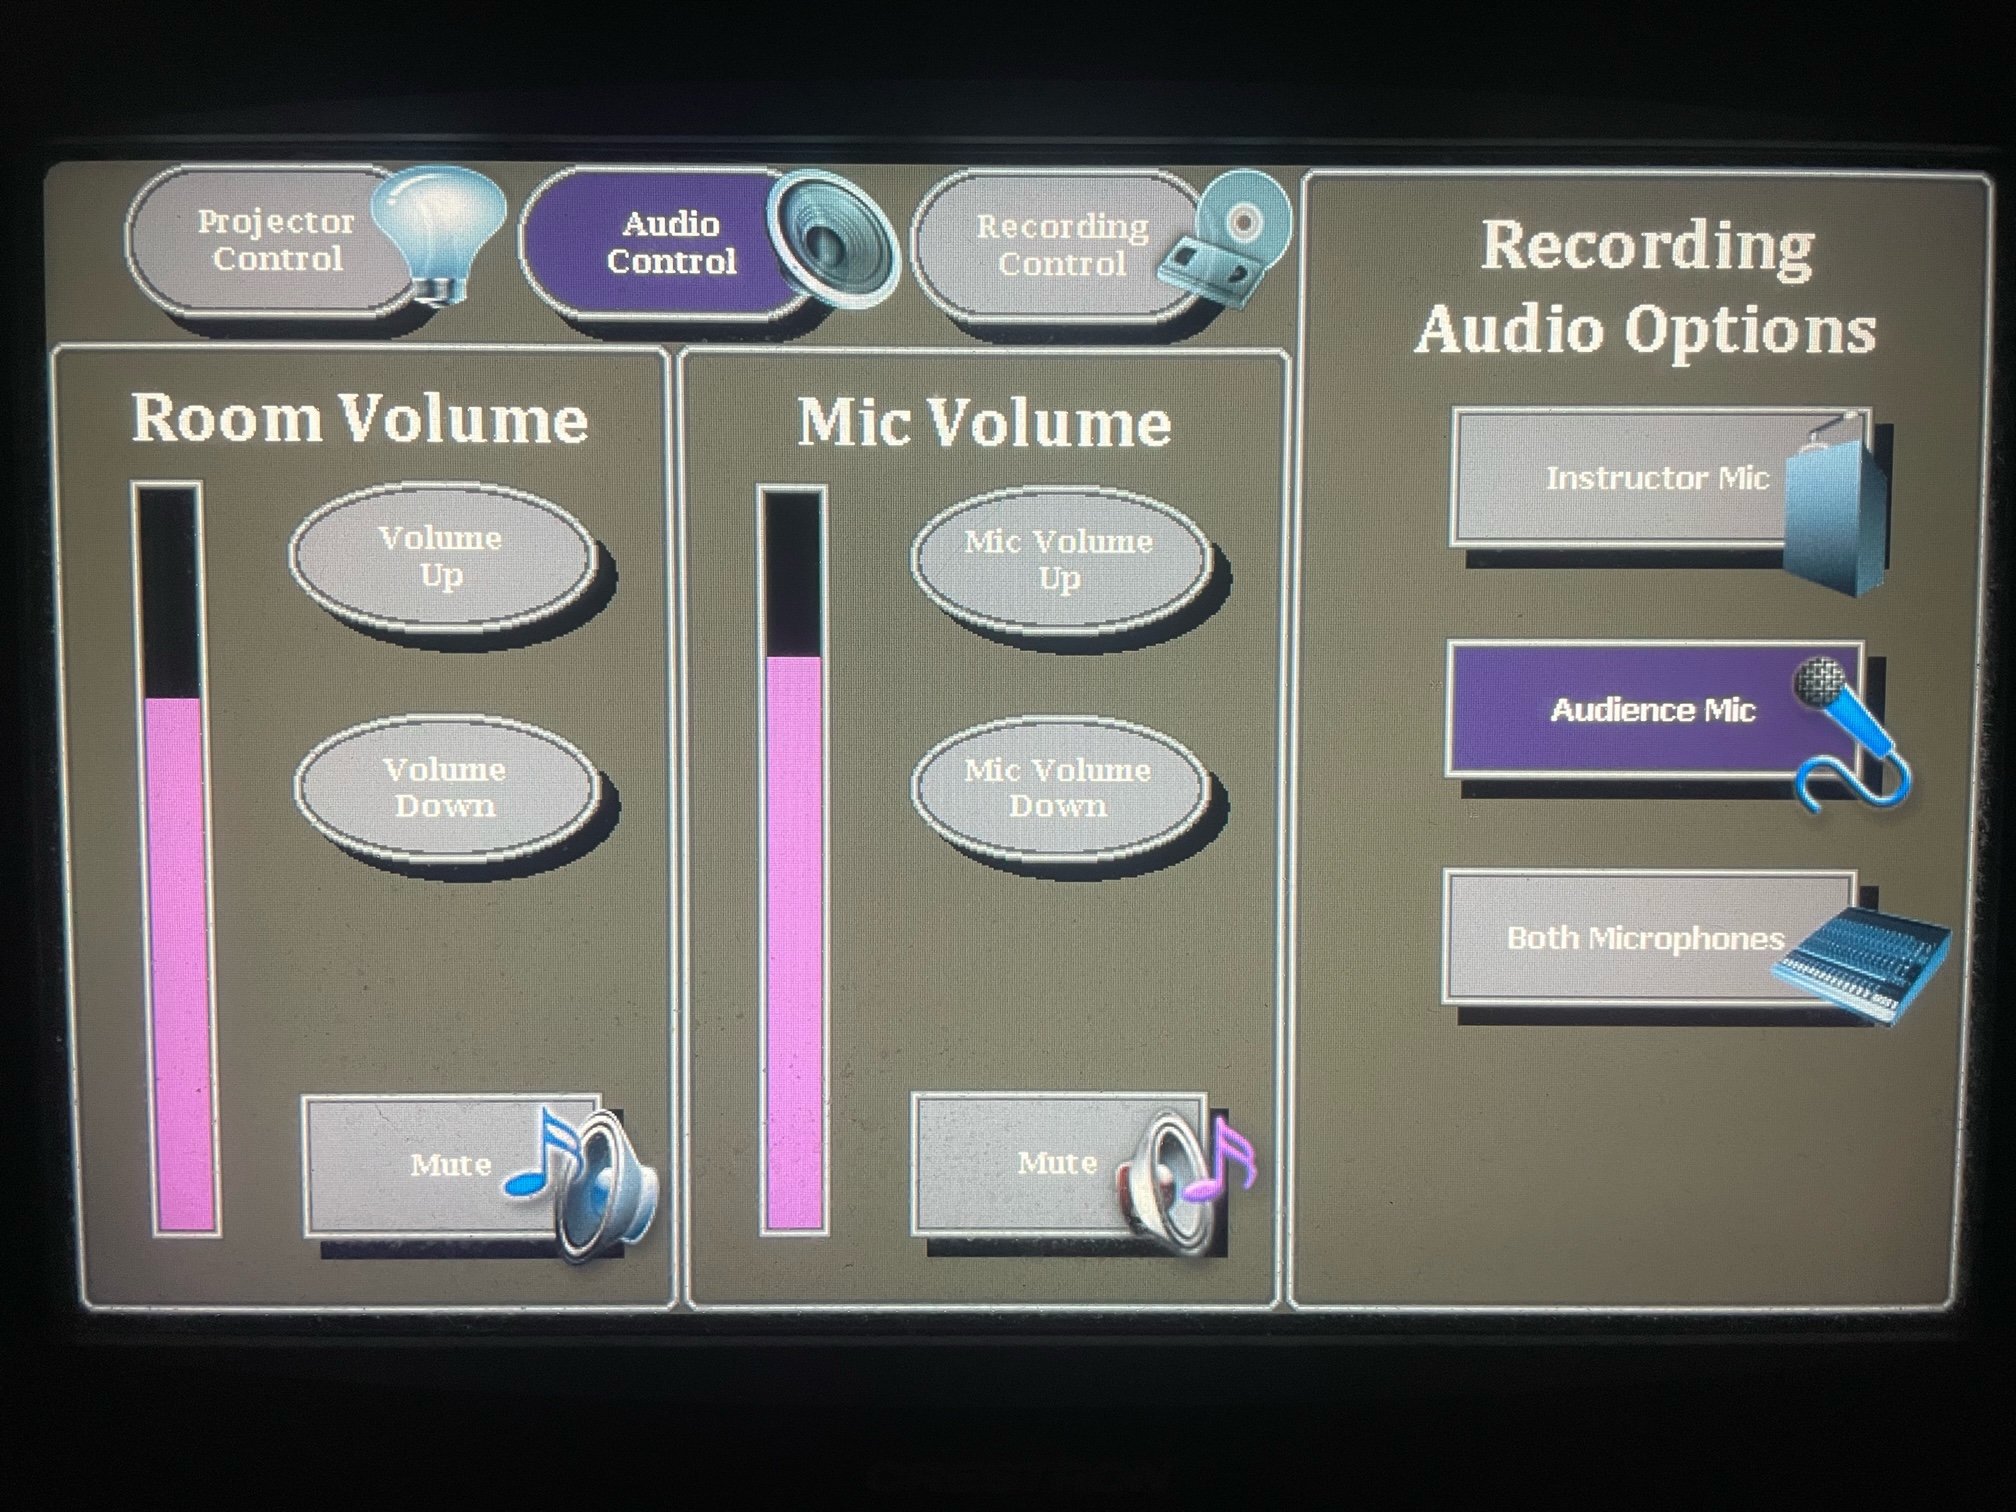
Located in the "Audio Controls" menu, the Room Volume function will allow users to control the audio output levels of the lecture room:
- Mute will mute the main speaker output volume.
- Volume Up raises the main speaker output volume.
- Volume Down lowers the main speaker output volume.
Microphone Volume
Subsequently, in the "Audio Controls" menu, the Mic Volume function will allow users to control the microphone volume output levels of the lecture room.
- Mute will mute the microphone input.
- Volume Up raises the gain of the microphone.
- Volume Down lowers the gain of the microphone.
Audio Inputs
MH 101 - Desktop
MH 101 has two audio input settings:
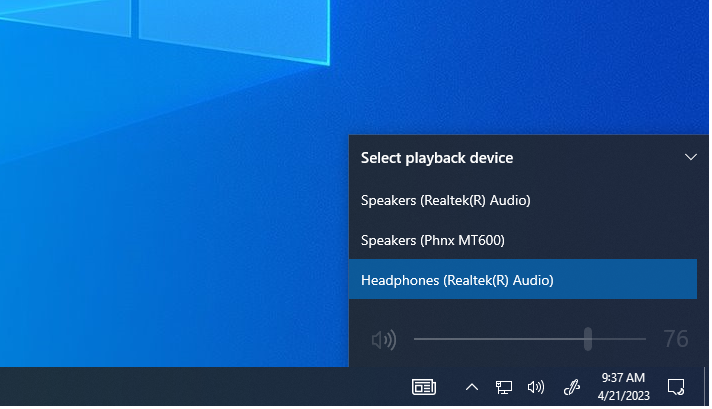
- The desktop in MH 101 uses a DVI input. Since DVI is not capable of carrying sound, you'll need to use the "Realtek Headphones" playback device.
- If the headphones playback device is already selected and no audio is processing, please try turning off the monitor or selecting and re-selecting the desktop input.
MH 101 - Laptop (HDMI)
If you're planning to use the laptop input, please switch the video input to "Laptop (HDMI)"
- Since HDMI is capable of carrying sound, you'll need to switch your playback device to "ExtronScalerD (AMD High Definition Audio Device)"
- This device is usually automatically be selected once your laptop is plugged in.
- If you are still not receiving sound or video, please try disconnecting and reconnecting the HDMI cable. If problems persist, try resetting the video input on the Crestron unit.
Audio Inputs
MH 304 - Desktop
MH 101 has two audio input settings:
- The desktop in MH 101 uses a DVI input. Since DVI is not capable of carrying sound, you'll need to use the "Realtek Headphones" playback device.
- If the headphones playback device is already selected and no audio is processing, please try turning off the monitor or selecting and re-selecting the desktop input.
MH 304 - Laptop (HDMI)
If you're planning to use the laptop input, please switch the video input to "Laptop (HDMI)"
- Since HDMI is capable of carrying sound, you'll need to switch your playback device to "ExtronScalerD (AMD High Definition Audio Device)"
- This device is usually automatically be selected once your laptop is plugged in.
- If you are still not receiving sound or video, please try disconnecting and reconnecting the HDMI cable. If problems persist, try resetting the video input on the Crestron unit.
Zoom Controls
MH 101 - Zoom Audio Settings
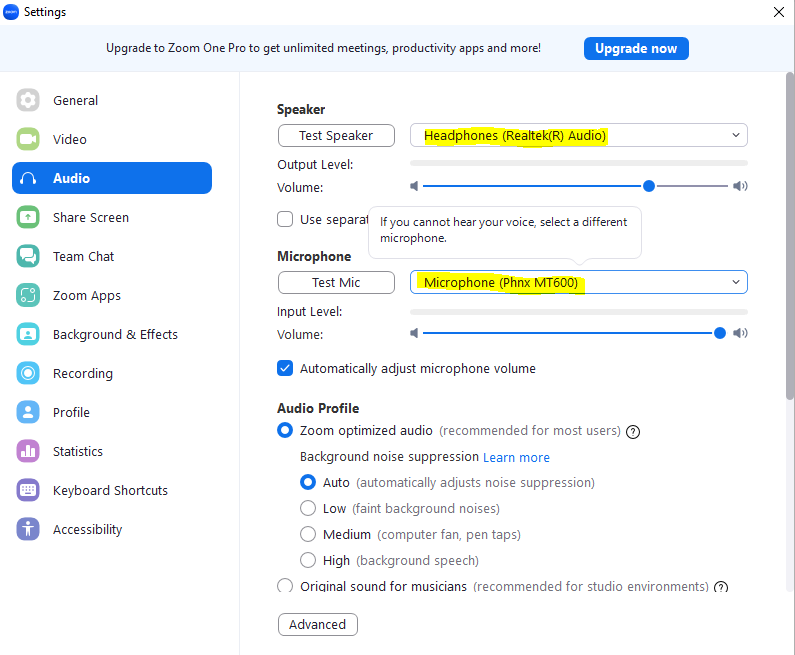
In MH 101, the Zoom audio and video settings should be configured like below:
- Speakers - Headphones (Realtek(R) Audio)
- Microphone - (Phnx MT600)
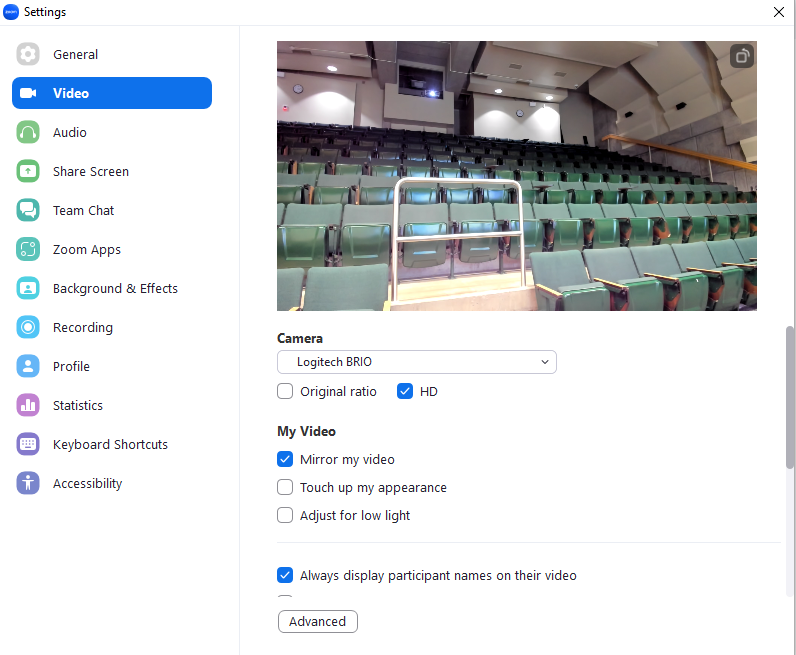
MH 101 - Zoom Video Settings
- Camera - Logitech Brio
Frequently Asked Questions
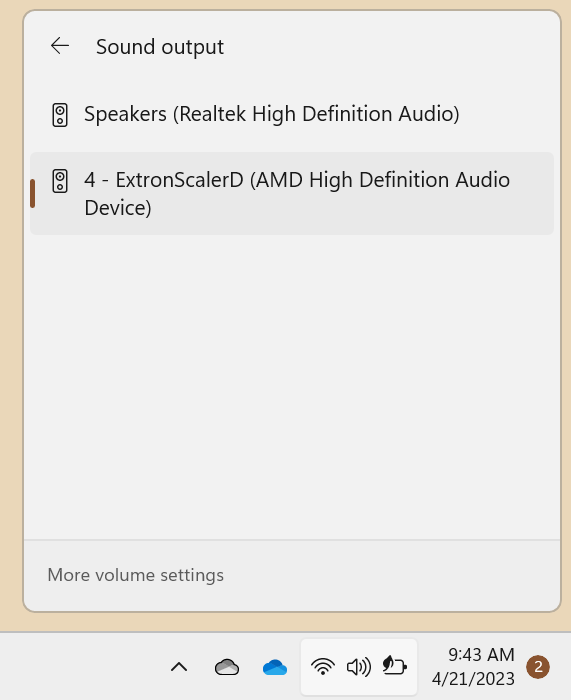
- Please ensure that the correct sound output is selected, you can review them here.
- If problems still persist, restart the Crestron system by toggling the projector off and switching video inputs.
- Please ensure the audio volume is turned up and not muted.
- Sometimes there are two HDMI cables, please ensure that you've tried both.
- You must switch the video input on the Crestron unit to Computer (HDMi).
- Ensure your display settings are correct by right clicking on your desktop --> display settings.
- The best solution for this is to restart the entire system.
- Toggle the projector off, wait for it to reset, and toggle the projector on.
- If using a laptop, Ensure the display settings are correct and your resolution is on the recommended setting.
- Sometimes the screen settings change when instructors update their preference. To fix this, right click anywhere on the desktop and click display settings.
- If you scroll down towards the bottom you will see the option to duplicate the display or extend the display.
- Extended acts as a second monitor and you can drag windows over to the projector or confidence monitor.
- Duplicate duplicates your desktop or laptop screen to show everything on the same screen.
- For more information or further detail, click here.