Quick Start
Locating the Extron Touch Panel
The Extron touch panel is often located near the instructor desk. The panel is either wall mounted or desk mounted. An example of the panel is shown below.

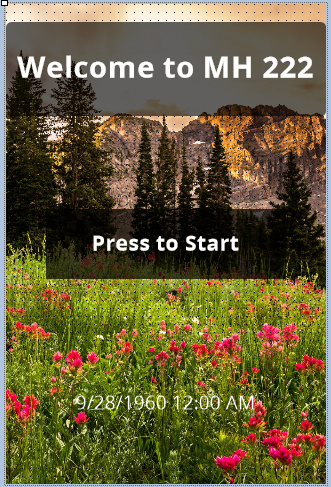
Start Screen
To initiate normal classroom operations, toggle the start or power button as seen below.
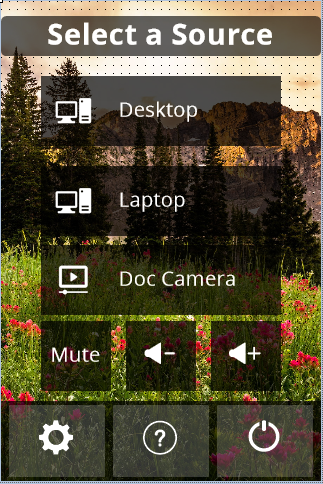
Main Screen
After the automatic Extron boot process is finished, the user should see the main Extron control screen. The main Extron screen provides a variety of user control functions which are listed below. An example of this screen is also shown below.
Desktop Controls
Getting Started
To get started using the desktop or PC workstation, select the "Desktop" input located on the main Extron screen.
After the device is ready to go, you can toggle the "Desktop" input on the main Extron screen, as shown below.
Note: Once the Desktop input is initiated, you will see that there are no controls available for this device, this is normal.

Laptop Controls
Getting Started
To get started using a laptop, make sure the device is connected to the USB-C cable located on the instructor desk.
After the device is ready to go, you can toggle the "Laptop" input on the main Extron screen, as shown below.
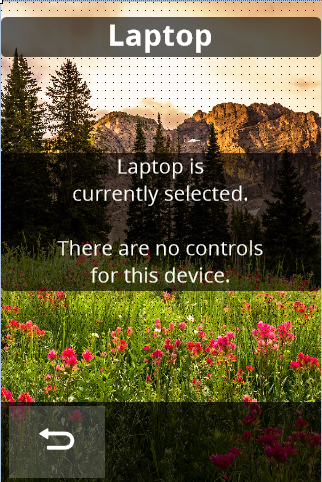
Note: Once the laptop input is initiated, you will see that there are no controls available for this device, this is normal.
Display Settings
Getting Started
To configure the Display Settings, select the gear icon located on the bottom left of the main Extron screen, as shown below.
Then select "Display" from the settings menu.
Display Settings
The display settings menu allows users to control the displays that are located in their subsequent classrooms.
Projector = Main Projector
Bravia = Confidence Monitor
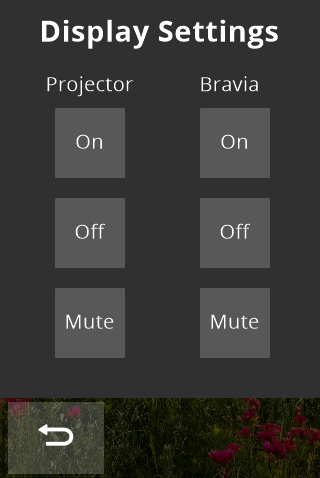
Display Settings Functions
This turns the projector or confidence monitor on.
This turns the projector or confidence monitor off.
This allows you to a/v mute the projector or confidence monitor. A picture will not be shown when this is enabled.
FAQ
Frequently Asked Questions
Please ensure the device is using the proper sound output. For most classrooms, this means selecting the "Extron HDMI" output in the bottom right corner of your taskbar. For steps on configuring this properly, please visit the links below:
Windows Output Settings
Mac OS Output Settings
This dial allows users to control the volume of the Laptop input.
This dial allows users to control the volume of the Zoom Room input.
This dial allows users to control the volume of the Master input. Use this control if you want to turn up or down the volume of the whole system.